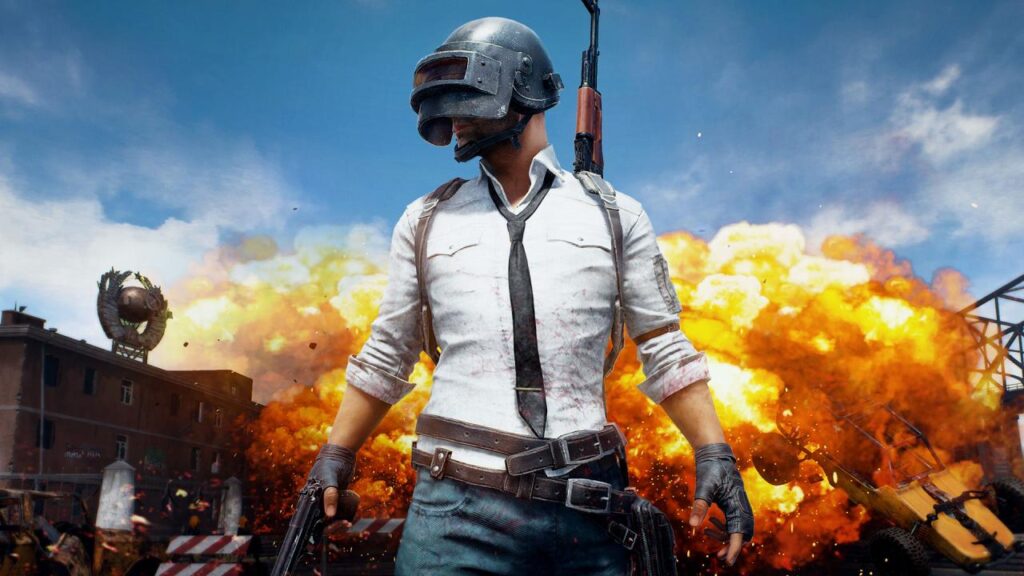
PlayerUnknown’s Battlegrounds (PUBG) is the game that famously popularized the Battle Royale genre, plunging 100 players onto a massive map where the only goal is to be the last person or squad standing, a frantic, high-stakes fight for survival.
Unlike the arcade-style shooters that preceded it, PUBG demands a slower, more deliberate, and profoundly tactical approach, emphasizing realistic gun ballistics, careful inventory management, and strategic positioning over sheer speed and reckless aggression.
The core tension of the game is brilliantly created by the ever-shrinking Blue Zone—a lethal energy field that forces players to rotate and clash in increasingly smaller circles—transforming a massive playground into a claustrophobic death arena in the final minutes.
Mastering this brutal landscape requires a nuanced understanding of its many layers, from securing the best weapons in the first five minutes to meticulously controlling recoil in a distant firefight, and finally, executing a flawless, smoke-covered rotation into the final circle.
This comprehensive guide will equip you with the essential knowledge needed to navigate the early chaos, dominate the mid-game rotations, and finally claim that elusive “Chicken Dinner,” cementing your place as a true survivalist on the battlegrounds.
Early Game: Landing, Looting, and Survival
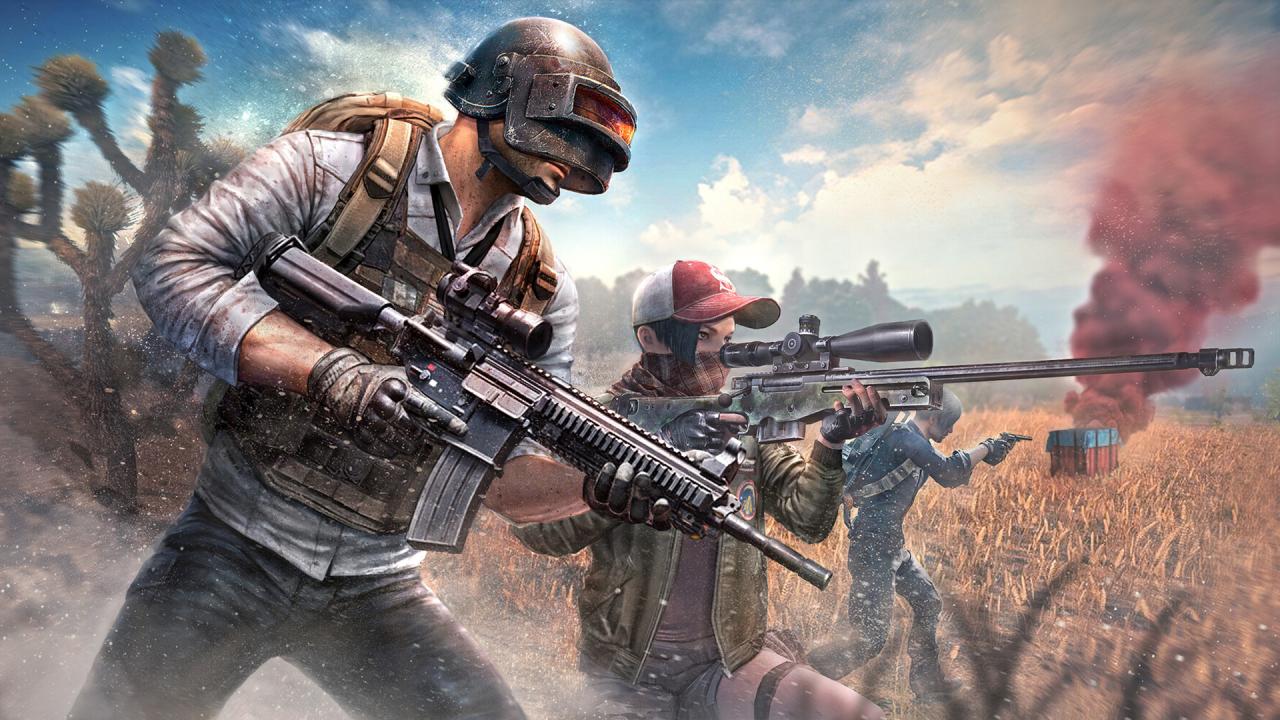
The first phase of the game is the most chaotic, where your initial landing spot and looting efficiency determine your ability to survive the first confrontation.
A. Strategic Drop Placement
Your first major decision is when and where to jump from the transport plane to land on the map.
High-risk, high-reward zones like the Military Base or School are packed with top-tier loot but guarantee intense, immediate combat.
Low-risk, slow-reward zones, such as small clusters of remote houses or farmsteads, offer a safer looting experience with less initial pressure.
Always check the flight path and aim for areas slightly off the main track to avoid immediate mass conflicts.
B. Prioritizing the Loot Grab
As soon as your feet hit the ground, your only priority is finding Weapons and Armor immediately.
A pistol or Submachine Gun (SMG) is better than no gun; grab whatever you see first for self-defense.
Your core inventory priorities should be: Primary Weapon, Secondary Weapon, Level 2 or 3 Armor/Helmet, and then Healing Items.
Remember, armor capacity is just as important as the vest level; Level 1 armor is always better than running around defenseless.
C. The Essential Loadout
The ideal PUBG loadout covers both close-range and long-range encounters.
A common and effective combination is a versatile Assault Rifle (AR) (like the M416 or SCAR-L) for mid-range spray paired with a Sniper Rifle (SR) or Designated Marksman Rifle (DMR) (like the Kar98k or SKS) for distant targets.
Always loot for contrasting weapon types to manage ammo efficiently and be prepared for any distance fight.
Do not forget backpacks; a Level 3 backpack exponentially increases the amount of medical supplies and ammo you can carry.
D. Smart and Safe Looting
Never stand still while looting a structure or an enemy’s death crate, as you become a perfect target for unseen snipers.
Continuously crouch, strafe, or move side-to-side while your inventory screen is open to make yourself harder to hit.
After securing a kill, immediately check your surroundings for the enemy’s teammates before rushing to the crate.
In the mid-to-late game, throw a smoke grenade onto a death crate before attempting to loot to create temporary, life-saving cover.
Weapon Mastery: Recoil Control and Attachments
PUBG’s realistic ballistics and challenging recoil patterns mean that weapon mastery is a constant process of practice and precision adjustment.
A. Taming the Recoil Monster
PUBG weapons suffer from intense vertical and horizontal recoil when fired continuously.
The key control technique is the “pull-down”: gently dragging your mouse or thumbstick downward to counteract the weapon’s upward climb as you shoot.
Burst firing is the most effective method for mid-range fights, letting the recoil reset between short, controlled shots.
Always try to crouch or go prone when engaging in sustained fire, as this significantly reduces both vertical and horizontal recoil, stabilizing your shot.
B. Understanding Attachments
Attachments modify a weapon’s performance and are crucial for optimizing recoil control and vision.
1. Grips
Foregrips like the Vertical Foregrip prioritize reducing vertical recoil, making the weapon easier to spray.
The Half Grip offers a balance, reducing both vertical and horizontal recoil while speeding up recoil recovery.
Choosing the right grip depends heavily on the base weapon’s inherent recoil tendency and your personal control style.
2. Muzzles
A Compensator is the best choice for improving recoil control, greatly reducing both horizontal and vertical kick, but it reveals your location clearly.
A Suppressor (or Silencer) is vital for stealth and mid-game positioning, drastically reducing muzzle flash and gunshot volume.
A Flash Hider is a compromise, reducing muzzle flash without the sound suppression of a silencer.
3. Scopes
Carry a variety of scopes to cover all ranges, such as a Red Dot Sight or Holographic Sight for close-quarters battle (CQB).
A 3x or 4x scope is perfect for versatile mid-range engagements with an AR.
An 8x or 15x scope is reserved almost exclusively for long-range sniping with a DMR or SR.
C. ADS vs. Third-Person Hip Fire
Aim Down Sights (ADS), which is the precise view through the scope or iron sights, is necessary for all accurate shooting beyond close-range.
Hip fire (shooting without aiming down sights) is only effective at extremely close ranges (less than 5 meters) and is notoriously inaccurate.
The Over-The-Shoulder (OTS) view (holding right-click on PC) offers a slight accuracy bump over hip fire and is useful for quickly tracking enemies in TPP mode.
Mid-to-Late Game: Circle Strategy and Rotation
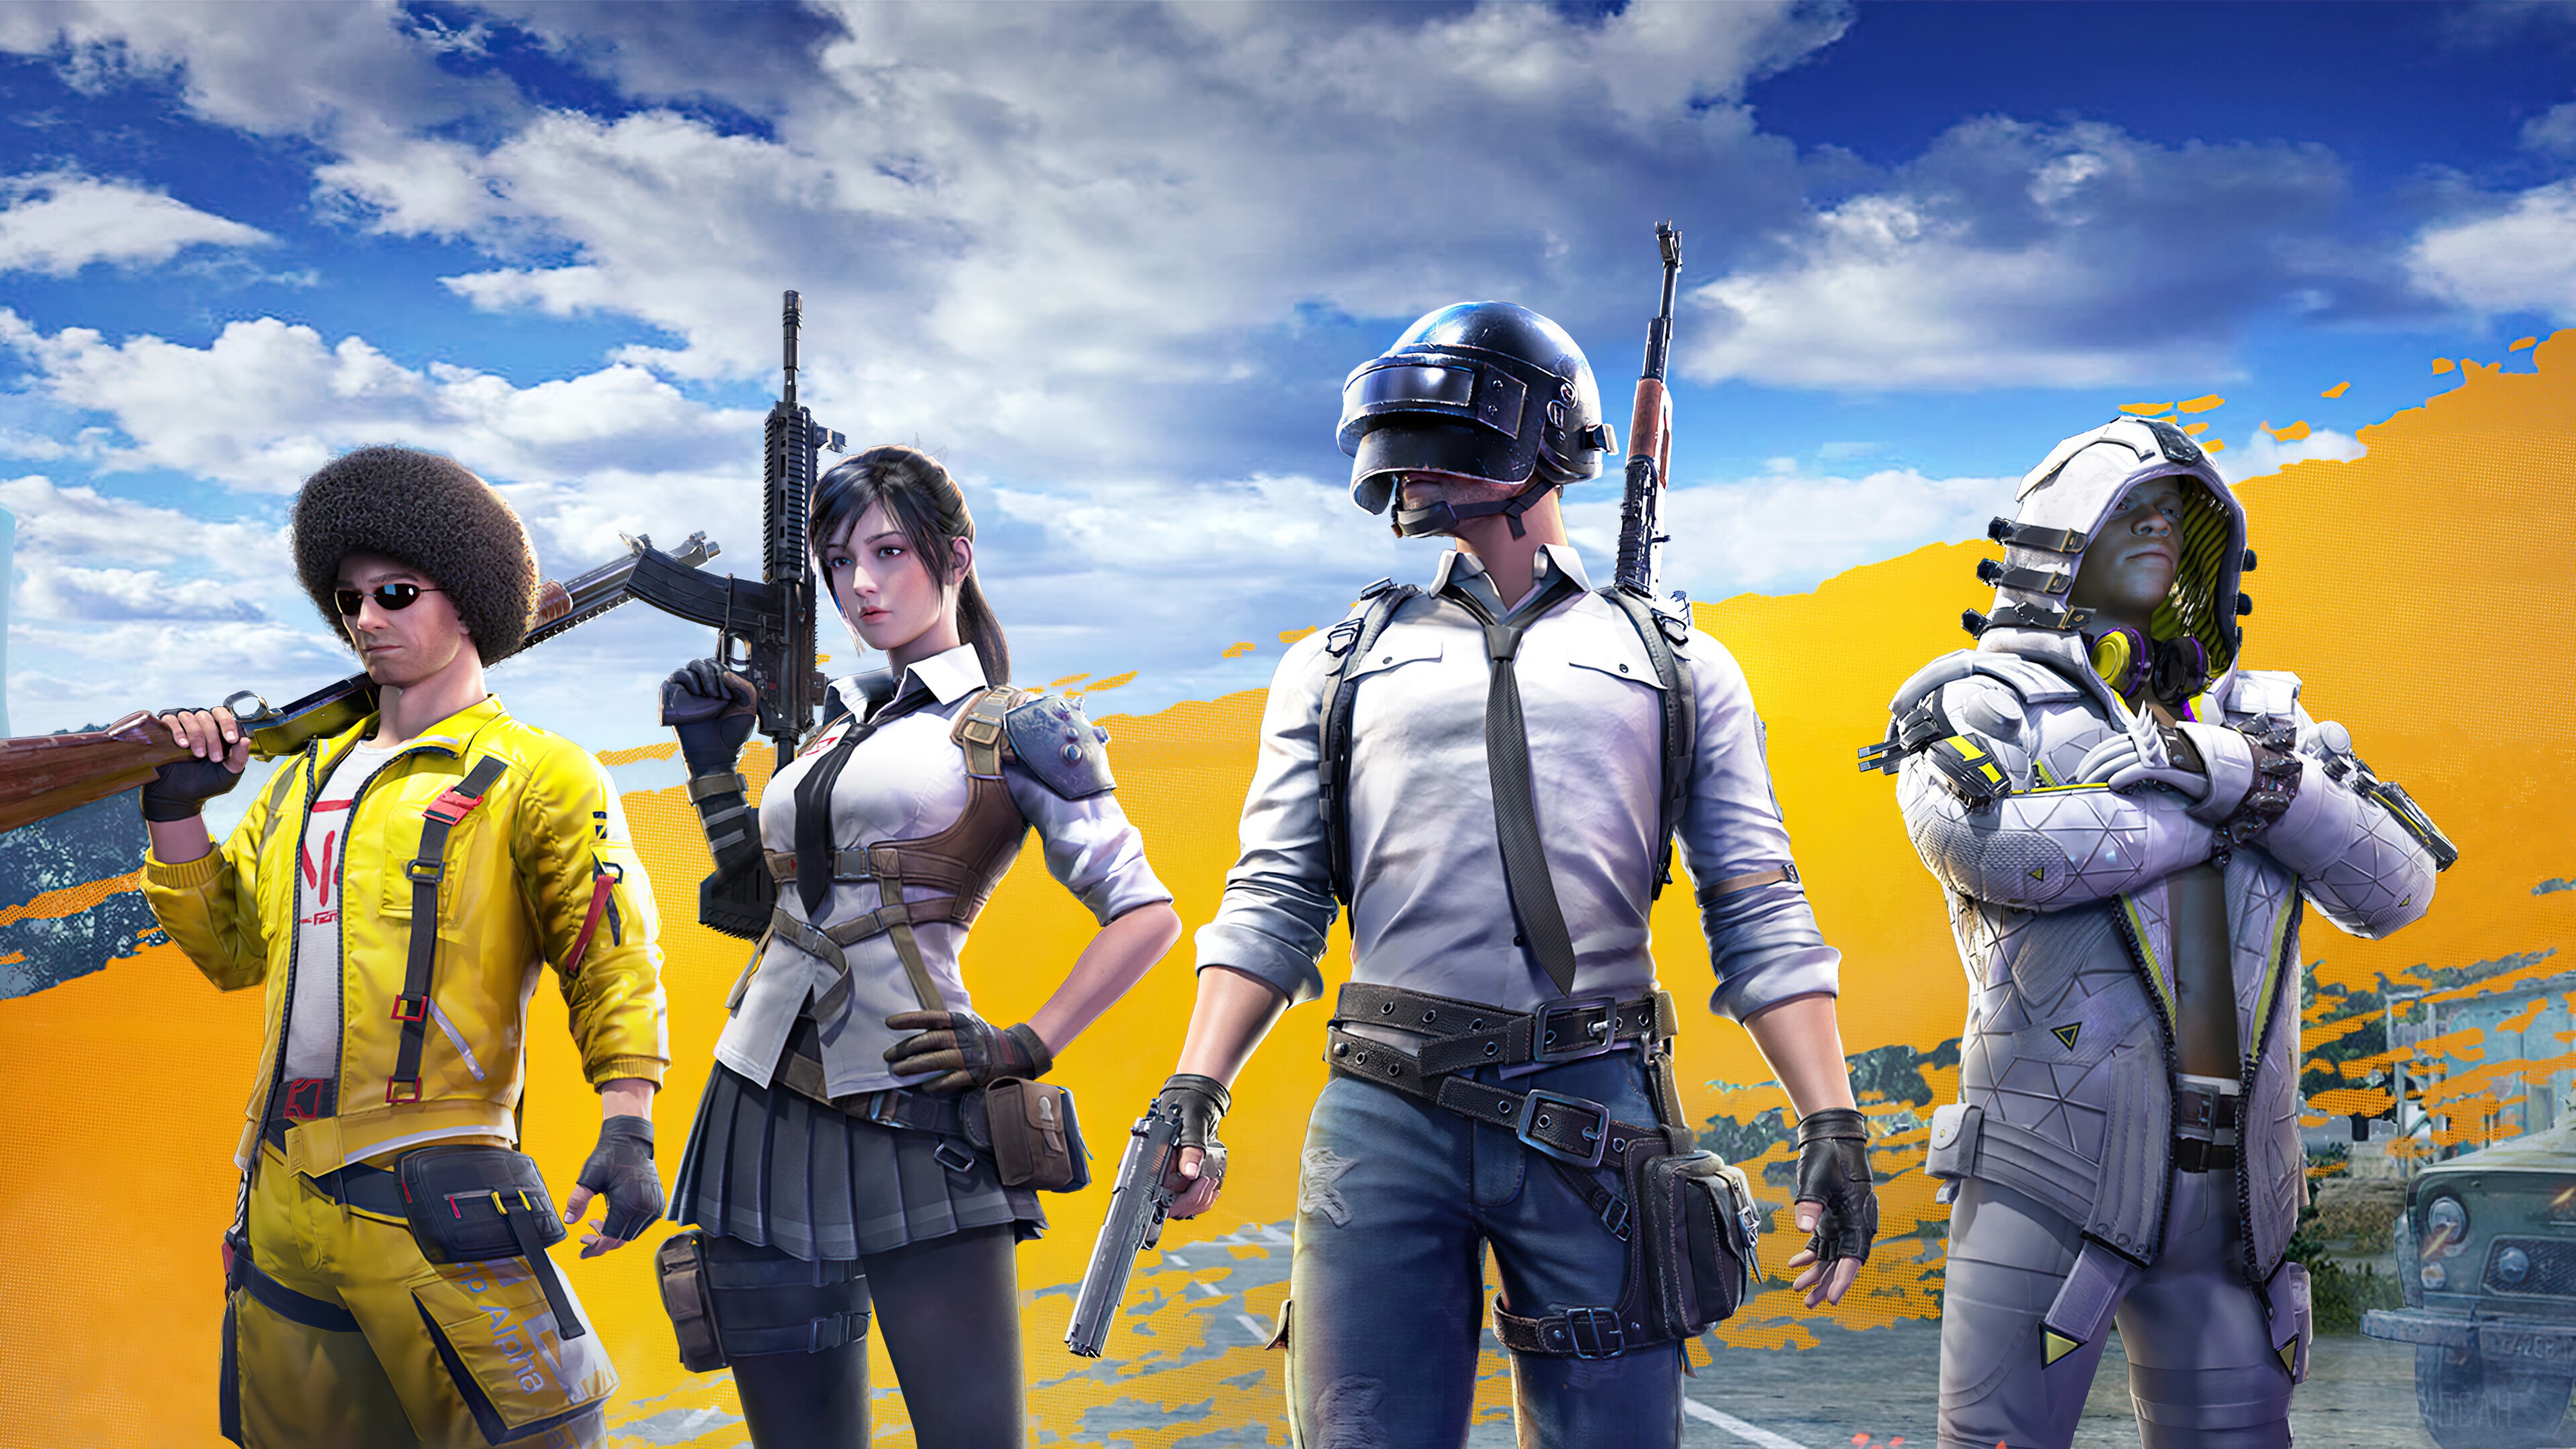
Survival shifts from looting to strategic positioning and flawless rotation as the lethal Blue Zone pushes players toward the center.
A. Mastering the Blue Zone’s Timing
The Blue Zone (or “The Circle”) is a lethal, ever-shrinking energy field that deals progressively higher damage as the game advances.
Early rotation is generally best; move to the next safe zone early to secure a prime position (such as a house or ridge) before the map becomes crowded.
Avoid getting caught rotating late in the final circles; the damage from the Blue Zone becomes nearly instantaneous death.
Always monitor the countdown timer and the distance to the next safe zone to plan your move.
B. Pinwheel and Edge Strategy
The Pinwheel Rotation is a classic strategy where you follow the smallest curve on the edge of the current circle to enter the next one.
This keeps the Blue Zone always at your back, minimizing the number of angles you need to check for enemies behind you.
Another effective strategy is to hold the edge of the circle, picking off players who are rushing in from the Blue Zone, before moving to the next edge.
Avoid rushing the center of a large, open circle too early, as this exposes you to attacks from all 360 degrees.
C. Using Throwables for Tactical Advantage
Smoke Grenades are arguably the most important throwable in the mid-to-late game.
Use smoke to create temporary cover when crossing open fields, reviving a downed teammate, or safely looting a crate under fire.
Frag Grenades (HE) are excellent for flushing enemies out of hard cover (like small houses or behind rocks) or finishing a knocked-down player.
Molotov Cocktails are useful for area denial, blocking an enemy’s narrow escape route or preventing them from pushing through a doorway.
D. Utilizing Terrain and Cover
Cover is your lifeline; never fight or reposition in an open field without reliable cover.
High ground (ridges, rooftops, elevated terrain) offers a clear line of sight over lower-lying enemies and provides natural cover from below.
Use small dips in the terrain (depressions), single trees, or large rocks as temporary cover when moving.
In the final circles, look for solid, unbreakable structures (stone walls, large rocks) rather than thin fences or easily destroyed wooden shacks.
Advanced Tactics: Vehicles and Late-Game Skills
The difference between a mid-game elimination and a Chicken Dinner often comes down to clever vehicle usage and composure under pressure.
A. Vehicle Management and Tactics
Vehicles are essential for covering large distances on maps like Erangel and Miramar, saving critical time during rotations.
Vehicles are also huge targets; driving in the late game will instantly expose your location to all nearby enemies.
Use vehicles to block doorways to prevent enemies from entering or escaping a house you are holding.
When stopping, always park the vehicle behind cover and facing your direction of travel so you can make a quick escape if needed.
B. Boosting and Healing Mechanics
Boosting is a vital mechanic achieved by using Energy Drinks and Painkillers to fill your Boost Bar.
Filling the bar grants periodic health regeneration (allowing you to survive the Blue Zone longer) and a movement speed increase.
Healing items (Bandages, First Aid Kits, Med Kits) restore health, but the Boost Bar is crucial for survivability during rotations or extended late-game fights.
Prioritize carrying more boost items (Energy Drinks/Painkillers) over an excessive number of low-value Bandages.
C. The Sound Game and Free Look
High-quality headphones are a necessity; being able to accurately pinpoint the direction and distance of footsteps is a massive advantage.
Listen for the sound of guns reloading, doors opening, and vehicles approaching to preempt enemy actions.
Use the Free Look (Alt key on PC) feature while running to check your flanks and rear without altering your character’s running direction.
Stay calm in the final circles; panic leads to mistakes like standing up in the open or shooting too early and revealing your position.
D. Late-Game “Ratting” and Stealth
In the final, tiny circles, stealth and patience often beat aggression.
“Ratting” involves lying prone (snaking) in tall grass, behind small ridges, or at the exact edge of the circle to remain completely invisible.
When prone, remove your backpack (dropping it nearby) and switch to a less visible weapon to reduce your vertical profile.
Only reveal yourself to fire when you have a guaranteed kill or if the enemy is forced to move directly into your crosshair by the advancing Blue Zone.
Conclusion
PUBG Battlegrounds is the ultimate test of survival, demanding a perfect mix of aggression, stealth, and tactical patience.
The early game chaos demands quick, smart looting and a balanced loadout to win those critical initial fights.
Mastery over weapon recoil, utilizing the pull-down technique and attachment optimization, is essential for mid-range dominance.
Strategic rotation and early movement into the safe zone are the most important factors for surviving the mid-to-late game.
Clever use of smoke grenades for cover and boost items for survival gives you a powerful advantage in the final circles.
Success in PUBG is about making fewer mistakes than the 99 other players and keeping your composure when the pressure is highest.
Secure your armor, master your movement, and the elusive Chicken Dinner will eventually be yours.

